
When Move Doesn’t Move: How to Migrate from Sangfor to Nutanix the Smart Way
What to do when Nutanix Move does not support your hypervisor, the manual workflow that just works.

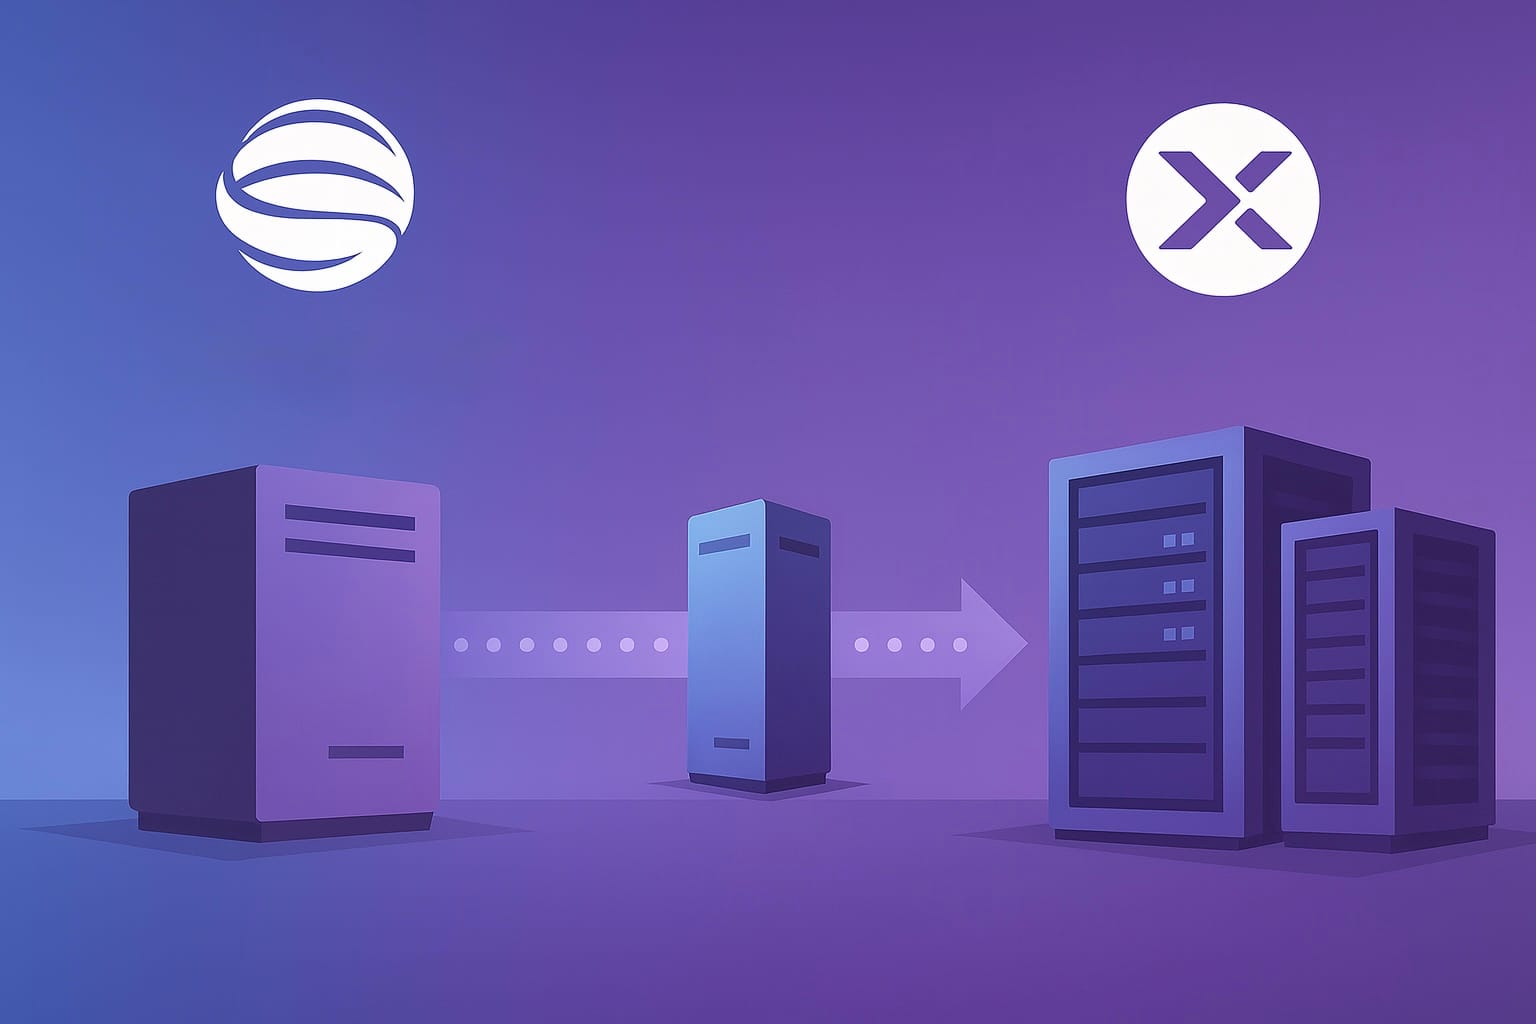
The Migration Challenge
Many datacenters still run workloads on Sangfor HCI. It is a capable platform, but migrating virtual machines from Sangfor to Nutanix is not straightforward because Nutanix Move does not support Sangfor as a source environment.
This does not mean the migration cannot be done. With a small amount of preparation and a simple workflow, you can move VMs from Sangfor to Nutanix in a predictable and fully controlled way, without conversion tools and without relying on unsupported features.
The method is based on three components: a bridge VM running inside Nutanix, SCP access to the Sangfor hosts, and Nginx to serve the QCOW2 disks for import.
The idea
Since Move does not support Sangfor as a source hypervisor, the migration must follow a manual workflow.
The pattern is simple. Deploy a small Linux VM inside the target Nutanix cluster. This VM acts as a bridge. It connects to the Sangfor nodes using SCP, downloads the QCOW2 disk images, and exposes them through Nginx. Prism can then import the disks directly from a local HTTP URL.
Nutanix supports QCOW2 natively, so the images do not need to be converted. The method is manual but efficient, transparent, and easy to repeat.
Preparing the bridge VM
Deploy a lightweight Linux VM inside the Nutanix cluster that will host the migrated workloads.
This VM will handle all the data movement.
Requirements:
- SCP and SSH access to the Sangfor hosts
- TCP port 80 reachable from Prism and from the Nutanix CVMs
- a dedicated disk to store the downloaded QCOW2 files
Create and mount the disk:
sudo fdisk /dev/sdb
sudo mkfs.ext4 /dev/sdb1
sudo mkdir -p /data/downloads
sudo mount /dev/sdb1 /data/downloads
echo "/dev/sdb1 /data/downloads ext4 defaults 0 0" | sudo tee -a /etc/fstab
This directory will store the QCOW2 images before Nginx publishes them.
Installing and configuring Nginx
Install Nginx and configure it to serve files from /data/downloads.
sudo apt update
sudo apt install nginx -y
Edit the default site:
sudo vi /etc/nginx/sites-enabled/defaultSet the root to your data directory:
root /data/downloads;
autoindex on;
Restart Nginx:
sudo systemctl restart nginx
sudo systemctl enable nginx
Any file placed in /data/downloads is now available via:
http://<bridge-vm-ip>/<filename>Finding the VM ID in Sangfor
When you open a VM in the Sangfor console, the internal VM ID appears in the URL. For example:
https://<scp-address>/cluster-xxxx/#/mod-vm-summary/index?id=5277004473061&name=VM_NAMEThe value of the id parameter is the VM identifier:
5277004473061Sangfor uses this ID to organize the VM disk files.
The directory containing the QCOW2 disks is:
/sf/data/VirtualDatastore1/images/cluster/5277004473061.vmDisk naming pattern in Sangfor
The Sangfor environment available during this migration was running version 6.10R1.
In that release, the virtual disk files inside each VM directory follow a simple and consistent naming convention:
vm-disk-1.qcow2
vm-disk-2.qcow2
vm-disk-3.qcow2
Disk 1 is typically the system disk. Disk 2 and above represent data disks.
Inspect the directory:
ssh root@<scp-address> "ls -lh /sf/data/VirtualDatastore1/images/cluster/5277004473061.vm"Typical output:
vm-disk-1.qcow2
vm-disk-2.qcow2
Power state requirements
The VM must be powered off before copying its QCOW2 disks. A running VM produces an inconsistent disk image that will not boot on Nutanix.
If the VM cannot be shut down, create a clone and extract the QCOW2 files from the clone instead.
Copying the QCOW2 disks using SCP
Before Prism can import the disks, they must first be copied to the bridge VM.
scp root@<scp-address>:"/sf/data/VirtualDatastore1/images/cluster/5277004473061.vm/vm-disk-1.qcow2" /data/downloads/
scp root@<scp-address>:"/sf/data/VirtualDatastore1/images/cluster/5277004473061.vm/vm-disk-2.qcow2" /data/downloads/
Verify the files:
ls -lh /data/downloads/Publishing the QCOW2 files through Nginx
If the QCOW2 files are already in /data/downloads, they are automatically served by Nginx.
Verify:
curl -I http://<bridge-vm-ip>/vm-disk-1.qcow2You should receive HTTP 200.
Prism Central can now import the disk using the local HTTP URL.
Importing the disk into Nutanix using Prism Central
In Prism Central, open:
Compute → Images → Add ImageThen:
- Select Image Source
- Choose URL
- Enter:
http://<bridge-vm-ip>/vm-disk-1.qcow2- Name the image
- Start the import
Because the bridge VM runs inside the Nutanix cluster, the upload happens at local speed and completes quickly.
Repeat the import for every disk associated with the VM.
Rebuilding the VM on Nutanix
Create a new VM in Prism.
- Assign the correct vCPU and memory values
- Attach the imported QCOW2 file as the system disk
- Attach additional QCOW2 disks as data disks
- Connect the VM to the correct Nutanix network
Save and power on the VM.
Confirm that the guest OS boots correctly and performs as expected.
Removing Sangfor VM Tools on Linux
If the original VM was running on Sangfor, it may include the Sangfor VM Tools package. On Windows you can remove it easily from the Programs and Features panel. On Linux the process is not as immediate, so here is a simple cleanup script you can run inside the guest OS after migrating the disk to Nutanix.
This script stops and disables the Sangfor service, removes the related systemd units, deletes Sangfor directories, kills any remaining processes, and reloads systemd.
sudo systemctl stop SangforVMSTool.service 2>/dev/null && \
sudo systemctl disable SangforVMSTool.service 2>/dev/null && \
sudo rm -f /etc/systemd/system/multi-user.target.wants/SangforVMSTool.service \
           /etc/systemd/system/SangforVMSTool.service \
           /lib/systemd/system/SangforVMSTool.service && \
sudo systemctl daemon-reload && \
sudo rm -rf /usr/local/VMOptimizationTools /var/log/sangfor /var/lib/sangfor && \
sudo pkill -9 -f Sangfor 2>/dev/null || true && \
echo "Sangfor VM Tools have been removed successfully"
You can run it on any Linux VM after completing the migration to Nutanix.
This ensures that no Sangfor specific agents or optimization services remain active inside the guest.
Observations From the Field
Migrating from Sangfor to Nutanix without Move becomes simple once you establish a consistent workflow.
Using a bridge VM with SCP and Nginx gives you full control. You work with clean QCOW2 images, avoid unsupported automation paths, and take advantage of local storage and network speed for the import.
This pattern is reusable for any platform where you can access the source disks over SSH. It is a practical tool to keep in your Nutanix migration playbook.
Final note
The technical steps described in this article are indicative and may not reflect every command or configuration detail required in your environment. They illustrate the workflow and the sequence of operations involved in migrating VMs from Sangfor to Nutanix. Always validate each step in a controlled environment before applying it to production systems.